Craftsman 536.881750 Manuel de l'opérateur
Naviguer en ligne ou télécharger Manuel de l'opérateur pour Les souffleuses à neige Craftsman 536.881750. Craftsman 536.881750 Operator`s manual Manuel d'utilisatio
- Page / 37
- Table des matières
- MARQUE LIVRES
Résumé du contenu
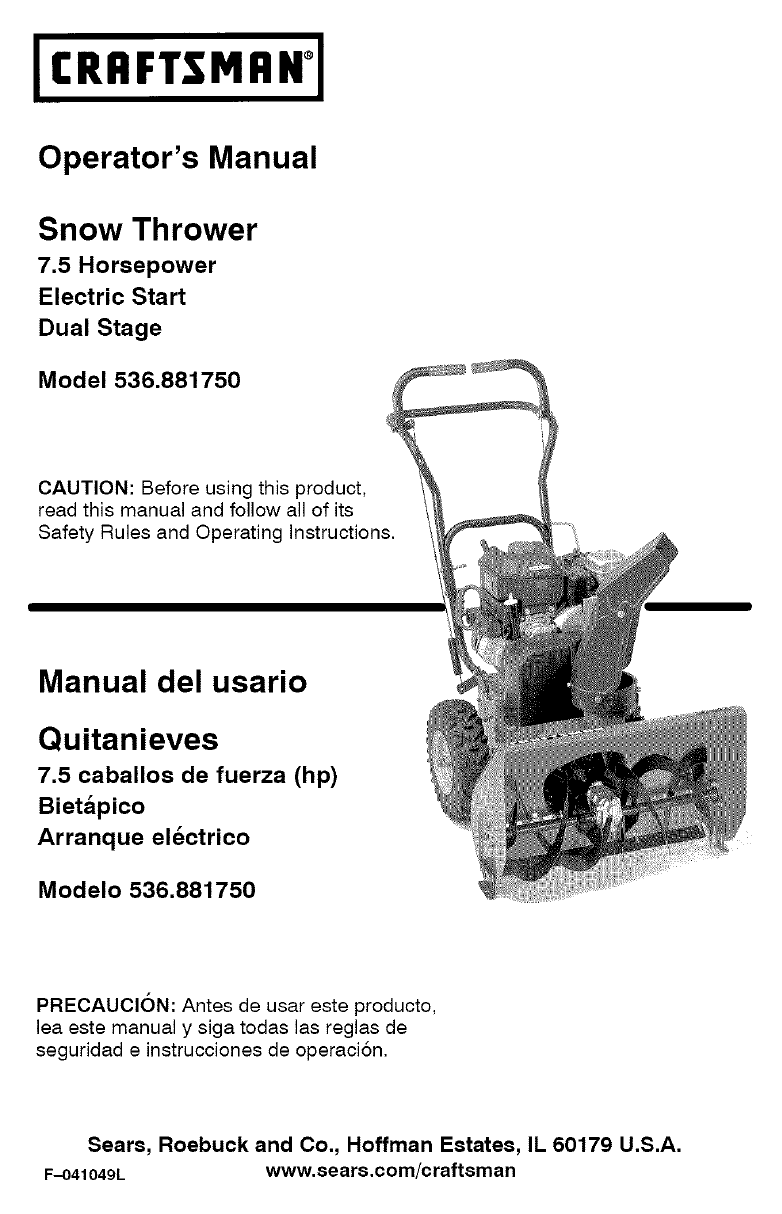
ICRRFTSMRN°IOperator's ManualSnow Thrower7.5 HorsepowerElectric StartDual StageModel 536.881750CAUTION:Beforeusingthisproduct,readthismanualandfo
[o_o)_KNOWYOURSNOWTHROWERREADTHiSOWNER'SMANUALANDSAFETYRULESBEFOREOPERATINGYOURSNOWTHROWER.ComparetheillustrationswithyourSNOWTHROWERtofamiliariz
[o_o)_Theoperationofanysnowthrowercanresultinforeignobjectsbeingthrownintotheeyes,whichcanresultinse-vereeyedamage.Alwayswearsafetyglassesoreyeshields
[o_o)_Foreaseofmaneuverabilityinlightsnowconditions,disconnecttheklickpinfromthewheellockedpositionandpushintothesinglewheeldriveposition(unlockedaxle
[o_o)_Neveruseengineorcarburetorcleanerproductsinthefueltankorpermanentdamagemayoccur.Fillthefueltankonlywithafresh,clean,unleadedregular,unleadedpre-
[o_o)_,_ WARNING: The starter i8equipped with a three-wirepower cord and plug and isdesigned to operate on 120 volt AChousehold current. It must be pr
[o_o)_betweenstartstoallowthestartermotortocool.9.(Recoil Start)Slowlypulltherecoiletarterhandleuntilresistanceisfeltandthenpullrepidlytostarttheengin
[o_o)_SNOWTHROWINGTIPS1.Formaximumsnowthrowerefficien-cyinremovingsnow,adjustgroundspeed,NEVERthethrottle.Goslowerindeep,freezingorwetsnow.If thewheel
SERVICERECORDSFillin datesasyou Before Every Every Everycompleteregular Each 5 1025 Each Before SERVICEservice. Use Often Hours Hours Hours Season Sto
ENGINE SPECIFICATIONSHORSEPOWER7.5HPDISPLACEMENT206ccGASOLINE 3quartsCAPACITY (unleaded)OILCAPACITY5W30(18ozcapacity)SPARKPLUG:ChampionRJ19LM(Gap.030i
ENGINELUBRICATIONCheckthecrankcaseoillevelbeforestartingtheengineandaftereachfive(5)hoursofcontinuoususe.SeeFigure17.AddS.A.E.5W30motoroilasneeded.Tig
i('-I:]I=IEe]_[_e_'_WARRANTYSTATEMENT ...2SAFETY RULES ... 2INTERNATIONAL SYMBOLS ...4ASSEMBLY ... 6OPERATIO
_bARNING: Always discon-nect the spark plug wire andplace it where it cannotmake contact with spark plug to pre-vent accidental starting when mak-ing
HOWTO REMOVETHE SNOWHOODToaccessthesparkplug,thesnowhoodmustberemovedasfollows:1.Removethechokecontrolknob(seeFigure20).2.Removethesafetykey.3.Removet
BELT ADJUSTMENTTraction Drive BeltThetractiondrivebelthasconstantspringpressureanddoesnotrequireanadjustment.Ifthetractiondrivebeltisslipping,replacet
HOWTOREPLACETHEBELTSThedrivebeltsareofspecialconstruc-tionandmustbereplacedwithoriginalequipmentreplacementbeltsavailablefromyournearestSearsservicece
ERingSwingPlateAxleRodTractionDriveIdlerAugerIdlerPulleyMotorBoxRemoveBoltsLoosenBoltsiiiiiiiiAugerHousingFigure27BeltGuideAugerDrivePulleyAugerDriveB
How To RemoveThe Traction Drive BeltIfthesnowthrowerwillnotmovefor-ward,checkthetractiondrivebeltforwearordamage.Ifthetractiondrivebeltiswornordamaged
BELT GUIDE ADJUSTMENT1.Removesparkplugwire.2.Havesomeoneengageaugerdrive.3.Measurethedistancebetweenthebeltguideandbelt.Thedistanceshouldbe1/8inch(3.1
TRACTION DRIVE CABLEADJUSTMENT1.Runtheengineuntilthefueltankisemptyandtheenginestops.2.Standthesnowthroweruponthefrontendoftheaugerhousing.3.Loosenthe
HOWTOADJUST ORREPLACETHEFRICTIONWHEELHow To CheckThe Friction WheelIfthesnowthrowerwillnotmovefor-ward,checkthetractiondrivebelt,thetractiondrivecable
How To Replace The Friction WheelIfthefrictionwheel iswornordamaged,thesnowthrowerwillnotmoveforward.Thefrictionwheelmustbereplacedasfollows.1.Runthee
TRAINING1.Readthisoperatingandserviceinstructionmanualcarefully.Bethoroughlyfamiliarwiththecontrolsandtheproperuseofthesnowthrower.Knowhowtostopthesno
11.Removethethreefastenersthatholdthefrictionwheeltothehub(seeFigure42).12.Removethefrictionwheelfromthehub.Slipthefrictionwheeloffthehexshaft,13.Asse
HOWTO REPLACETHE AUGER SHEAR BOLTTheaugersaresecuredtotheaugershaftwithspecialshearbolts.Theseshearboltsaredesignedtobreakandprotectthemachineif anobj
_ILWARNING: Never store yoursnow thrower with gasolinein the fuel tank indoors or inan enclosed, poorly ventilated area.If gasoline remains in the tan
h_o_U_oIo_TROUBLE CORRECTIONDifficultstarting Replacesparkplug.CAUSEDefectivesparkplug.Wateror dirtinfuel system.Removefuelfromfueltank.Addfreshfuel.E
(This pageapplicableintheU.S.A. andCanadaonly.)Sears,Roebuck and Co.,U.S.A. (Sears),the CaliforniaAir Resources Board(CARB) and the United States Envi
(theemissioncontrolsystemsparts)totheextentthesepartswerepresentontheenginepur-chased.a.Fue!MeteringSystem•Coldstartenrichmentsys-tem•Carburetorandint
Look For Relevant Emissions Durability Period and AirIndex Information On Your Engine Emissions LabelEnginesthatarecertifiedtomeettheCaliforniaAirReso
NOTESF041049L 37
13.Neveroperatethesnowthrowernearen-closures,automobiles,windowwells,drop-offs,andthelikewithoutproperadjustmentofthesnowdischargeangle.Keepchildrenan
DriveClutchForwardReverseAugerClutchAugerCollectorEngagePushToEngageFuelOilFuelOilMixtureElectricStarterDischargeDOWNDischargeUP DischargeLEFT Dischar
CONTENTSOF PARTS BAG (ACTUAL SIZE)1-Owner'sManual(notshown)1- PacketofFuelStabilizer(notshown)1-WarrantyCard(notshown)*NonAssemblyParts,foundinto
_hbARNING: Always wearsafety glasses or eye shieldswhile assembling snowthrower.TOOLS REQUIREDFORASSEMBLY1- Knifetocutcarton2-1/2inchwrenches(oradjust
TOASSEMBLETHEHANDLEANDCRANKASSEMBLY1.Cuttieholdingshiftrodtolowerhandleandmoveshiftertothefirstforwardgear.2.Cutanddiscardtheplastictiethatsecuresthec
NOTE"Ifthecableshavebecomedis-connected,connectcablesasshowninFigure7.TractionDriveCableAugerDriveCableFigure7HOW TO SET THE SKID HEIGHTYoursnowt
Plus de documents pour Les souffleuses à neige Craftsman 536.881750

Produits connexes et manuels pour Les souffleuses à neige Craftsman 536.881750

 (64 pages)
© 2020, manymanuals.fr. Tous droits réservés | 0.188 s |
 Manymanuals.com
 Manymanuals.de
 Manymanuals.fr
 Manymanuals.it
 Manymanuals.pl
 Manymanuals.cz
 Manymanuals.es
 Manymanuals-pt.com
Commentaires sur ces manuels